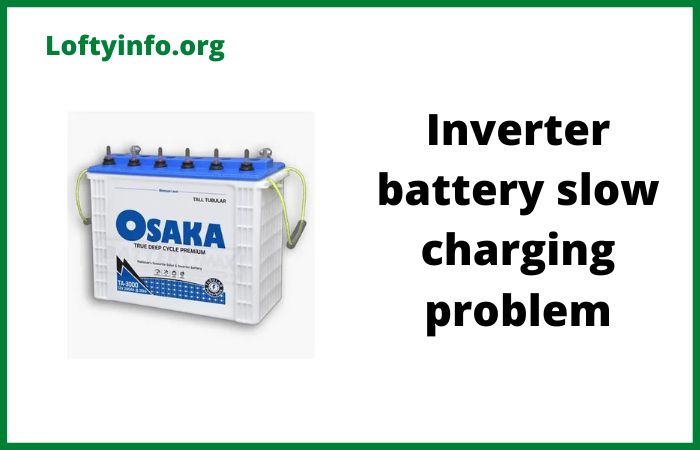
Inverter Battery Slow Charging Problem: Causes and Solutions
Picture this scenario: a power outage strikes your neighborhood and you rush to check your inverter only to realize the battery barely holds any charge despite being plugged in for hours.
The backup time that should sustain your household through the blackout now threatens to fail within minutes.
This frustrating situation affects countless homes and businesses worldwide as inverter battery slow charging problems silently rob users of the reliable power backup they desperately need.
An inverter battery that charges slowly doesn’t just inconvenience you during power outages but also signals underlying issues that could permanently damage your expensive battery investment.
The charging process should restore your battery to full capacity within a predictable timeframe yet many users experience charging sessions that stretch far beyond manufacturer specifications.
Understanding why your battery charges slowly and implementing the right solutions can restore normal charging speeds and extend your battery’s operational lifespan.
Causes Of Inverter Battery Slow Charging Problem
1) Aging or Sulfated Battery Reducing Charge Acceptance
Batteries naturally degrade over time and older units often charge more slowly than when new.
This age-related deterioration stems from chemical and physical changes within the battery cells that progressively reduce their ability to accept and store charge.
Lead-acid batteries commonly used with inverters have typical lifespans of 3 to 5 years for tubular types and 2 to 3 years for flat plate designs.
As batteries approach the end of their service life, charging times extend significantly even when all other system components function properly.
Sulfation represents the most common form of battery degradation affecting charge acceptance.
During normal discharge cycles, lead sulfate crystals form on the battery plates as part of the electrochemical reaction.
Proper charging should convert these crystals back to active material but incomplete charging leaves some sulfate deposits behind.
Over many cycles, these deposits accumulate and harden into large crystalline structures that resist conversion.
Sulfated areas of the plates become electrically inactive reducing the battery’s effective capacity and charging efficiency.
Deep discharge cycles accelerate sulfation dramatically which is why allowing your battery to discharge below 50 percent regularly shortens its life substantially.
Beyond sulfation, other age-related factors affect charging speed.
The active material on battery plates gradually sheds from the plates through normal cycling falling to the bottom of the cell as sediment.
This shedding reduces the surface area available for chemical reactions slowing both charging and discharging.
The separator material between plates can degrade allowing microscopic particles to create partial short circuits between plates.
These internal shorts create paths for self-discharge and reduce charging efficiency.
In flooded lead-acid batteries, the electrolyte gradually breaks down and loses its optimal specific gravity further hampering the charging process.
Testing your battery’s condition helps determine if aging causes your slow charging problem.
Check the battery’s age by looking for manufacturing date codes on the case or consulting your purchase records.
If the battery is more than 3 years old for tubular types or 2 years for flat plate designs, aging is a likely contributor to slow charging.
Measure the specific gravity of each cell using a hydrometer if you have a flooded battery.
A fully charged cell should read between 1.265 and 1.280 specific gravity.
Readings below 1.200 in any cell indicate severe sulfation or other damage.
Check the voltage of each cell in your battery bank individually.
All cells should read within 0.5V of each other when fully charged.
Significant variations between cells suggest imbalance or cell failure that affects overall charging performance.
Addressing age-related charging problems has limited solutions since battery degradation is fundamentally irreversible.
For mild sulfation caught early, specialized desulfation chargers can sometimes break down the sulfate crystals and partially restore battery capacity.
These chargers use high-frequency pulses to help convert crystalline sulfate back to active material.
The process takes several days to weeks and works best on batteries with light to moderate sulfation.
Success rates vary widely depending on the extent of sulfation and battery type.
For heavily sulfated or significantly aged batteries, replacement represents the only effective solution.
When purchasing a new battery, match the specifications to your inverter’s requirements closely.
Consider upgrading to a higher quality tubular battery if budget permits as these types offer longer service life and better deep discharge tolerance.
Some newer lithium-ion batteries designed for inverter applications charge much faster than lead-acid types and last 10 years or more making them cost-effective despite higher initial prices.
After installing a new battery, implement proper maintenance practices to maximize its lifespan.
Avoid deep discharges below 50 percent capacity, ensure complete recharging after each use and check water levels monthly in flooded batteries.
2) Incorrect Charging Voltage Settings in the Inverter
Modern inverters allow users or technicians to configure charging voltage parameters to match different battery types and charging profiles.
When these settings are configured incorrectly, charging speed suffers dramatically. The charging voltage directly determines how much current flows into the battery during the charging process.
Setting the voltage too low for your battery type results in inadequate charging current that extends charging times far beyond normal.
Lead-acid batteries require specific voltage ranges for optimal charging based on their chemistry and construction.
A standard 12V flooded lead-acid battery typically needs between 13.8V and 14.4V for bulk charging and around 13.2V to 13.8V for float charging.
Gel batteries require slightly lower voltages around 13.8V to 14.1V for bulk charging.
Absorbent glass mat batteries often charge best at 14.4V to 14.7V.
When inverter charging voltage is set below these optimal ranges, the voltage differential between the charger and battery decreases reducing the current flow according to Ohm’s law.
For example, setting bulk charge voltage to 13.2V when the battery needs 14.4V can cut charging current in half or more dramatically extending the time required to reach full charge.
Overly conservative voltage settings also prevent batteries from reaching true full charge.
Batteries need the bulk charging voltage to drive current deep into the plates and complete the chemical conversion process.
Without sufficient voltage, charging appears to complete at a lower state of charge than the battery’s actual capacity.
Over time, this incomplete charging contributes to sulfation and capacity loss creating a downward spiral of battery performance.
The float voltage setting affects charging speed during the final stages when the battery approaches full charge.
Setting float voltage too low causes the charger to reduce current prematurely leaving the battery in a partially charged state.
Some inverters ship with generic default settings designed to work safely with the widest range of battery types.
These conservative settings sacrifice charging speed for compatibility and safety.
If you haven’t customized the charging voltage settings for your specific battery, the inverter may be operating with suboptimal parameters.
Factory settings might specify 13.8V bulk charging when your tubular battery actually performs best at 14.4V to 14.7V.
This conservative approach prevents overcharging damage but results in slow charging that frustrates users.
Determining the correct charging voltage settings requires consulting your battery manufacturer’s specifications carefully.
The battery datasheet or manual should list recommended charging voltages for bulk, absorption and float stages.
Different battery types and even different models from the same manufacturer may have varying requirements.
If you cannot locate the original specifications, contact the battery manufacturer directly with your battery model number to obtain the correct charging parameters.
Generic specifications found online may not match your specific battery and using them could result in either slow charging or battery damage.
Programming your inverter with the correct voltage settings varies by manufacturer and model.
Most modern inverters provide access to charging parameters through a control panel with an LCD screen and buttons.
Navigate the menu system to find the battery settings or charging configuration section.
Look for parameters labeled bulk voltage, absorption voltage, float voltage or similar terms.
Enter the values specified by your battery manufacturer carefully.
Some inverters require you to set these values for each battery individually if you have multiple batteries in your bank.
Higher-end inverters with communication ports allow configuration through computer software or smartphone apps.
Download the appropriate software from the manufacturer’s website and connect to your inverter via USB, RS485 or wireless connection.
These software interfaces typically provide more detailed control over charging parameters and may include preset profiles for common battery types.
After changing voltage settings, monitor the charging process closely for the first several charge cycles.
Verify that charging current increases as expected and that the battery reaches full charge in a reasonable timeframe.
Use a multimeter to confirm the actual voltage at the battery terminals matches the programmed settings.
If charging seems too aggressive or you notice excessive gassing in flooded batteries, reduce the voltage slightly.
3) Heavy Load During Charging Reducing Net Charging Current
Many users run appliances from their inverter while simultaneously trying to charge the battery creating a situation where the inverter must split its available power between charging and supplying the load.
This divided attention significantly extends charging time as only the net current after subtracting load requirements flows into the battery for charging.
The effect becomes particularly severe when loads approach or exceed the inverter’s maximum charging current capability.
Understanding the current flow dynamics helps clarify this problem.
When your inverter is connected to grid power, it performs two functions simultaneously: converting AC power to DC to charge the battery and converting battery DC power to AC to run any connected loads.
If your inverter can provide 25 amperes of charging current to a 12V battery and your loads draw 15 amperes from the battery, the net charging current is only 10 amperes.
This reduced current extends charging time by more than double compared to charging with no loads connected.
As loads increase, charging slows proportionally.
When loads exceed the charging current capability, the battery actually discharges despite being connected to the charger resulting in no charging progress at all.
Common household appliances draw substantial power that competes with battery charging.
A refrigerator might draw 5 to 8 amperes continuously from your inverter.
Ceiling fans add 1 to 2 amperes each. LED lighting is relatively modest at 0.5 to 1 ampere per bulb but multiple lights add up quickly.
Air conditioners, water heaters and cooking appliances draw enormous currents often exceeding 20 to 30 amperes that completely overwhelm the charging capability.
Even in standby mode, many modern electronics draw small amounts of power continuously.
The cumulative effect of multiple small loads can substantially reduce charging speed without users realizing it.
The inverter’s charging capacity also varies with input power conditions.
During low voltage situations discussed earlier, the available charging current decreases even if no loads are connected.
Adding loads on top of reduced charging capacity due to low voltage compounds the problem severely.
Some basic inverters also reduce charging current when battery voltage rises during the charging cycle.
This tapering effect is intentional and helps prevent overcharging but combined with moderate loads it can make the final charging stages extremely slow.
Identifying load-related charging problems requires monitoring both charging current and connected loads.
Many inverters display charging current on their LCD panel or through monitoring apps.
Observe the displayed charging current during different times and under different load conditions.
Note how the charging current changes when you turn appliances on and off.
If charging current drops significantly when loads are active, those loads are competing with battery charging.
Calculate the total power consumption of all appliances connected to your inverter by adding up their individual wattage ratings.
Compare this total against your inverter’s charging capacity. If the numbers are close, loads are definitely impacting charging speed.
Solving load-related charging problems requires managing your power consumption during charging periods.
The simplest approach is to disconnect non-essential loads while charging your battery. Turn off appliances that can wait until after the battery reaches full charge.
Lights, entertainment devices and charging phones represent discretionary loads that can be postponed.
Essential appliances like refrigerators must continue running but you can schedule high-consumption activities like cooking and ironing for times when the battery is not charging.
Consider connecting truly essential loads directly to grid power bypassing the inverter entirely during charging periods.
This requires additional wiring but ensures critical appliances receive power without competing with battery charging.
Install a separate circuit breaker panel for essential loads with its own grid connection independent of the inverter.
During power outages, these loads transfer to inverter power but during normal conditions they run on grid power.
For loads that must run continuously, upgrade your inverter to a model with higher charging current capability.
A 30-ampere charger instead of a 20-ampere unit provides more headroom for simultaneous charging and load operation.
Verify that your electrical installation can supply the higher input current that a more powerful charger requires.
Conclusion
Slow battery charging problems stem from a variety of causes ranging from external power quality issues to internal battery degradation and configuration errors.
Systematic troubleshooting following the approaches outlined above helps identify the specific cause affecting your system.
Start with the simplest checks like measuring input voltage and inspecting connections before moving to more complex diagnostics.
Many charging problems have straightforward solutions that significantly improve charging speed when properly implemented.
Regular maintenance including connection cleaning, proper load management and correct voltage configuration prevents most charging issues from developing.
When batteries reach the end of their service life after several years of use, replacement becomes necessary to restore normal charging performance and backup capacity.
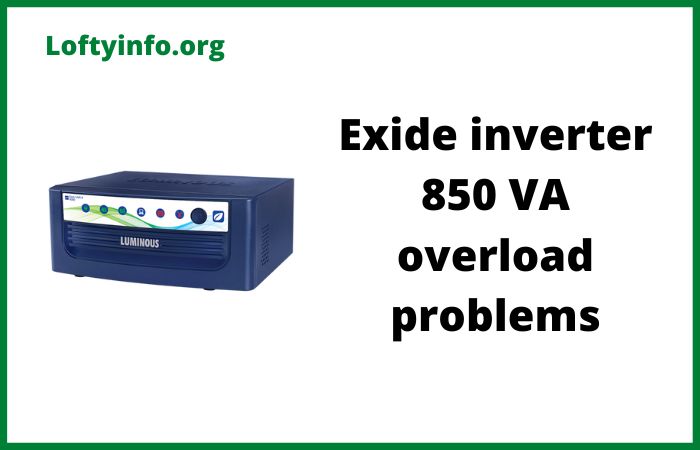
Solutions to Luminous Inverter Not Working After Power Cut Problem
