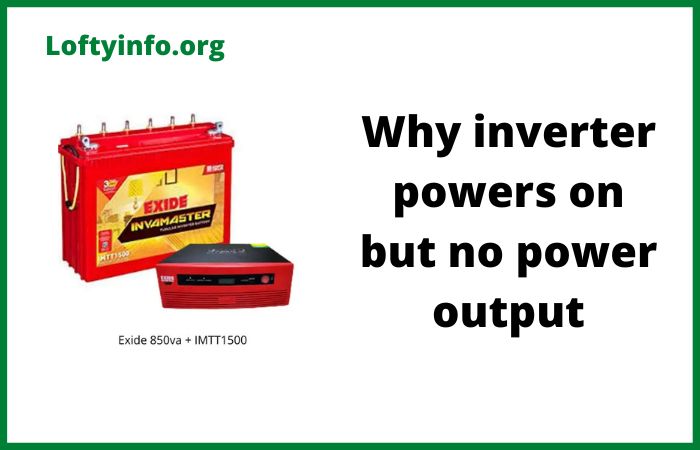
Why Inverter Powers On But No Power Output
It is one of the most confusing problems for a home or business owner.
You look at your power inverter and see the lights are on.
The screen is active and everything looks normal. You feel a sense of relief until you realize nothing in your house is working.
Your solar system is not exporting power.
Your off-grid cabin is dark. The inverter appears to be on but it is producing zero power output. This is a common issue with many potential causes.
It can range from a simple, two-second fix to a sign of a critical failure.
Understanding why your inverter is on but not working requires looking at the system in two parts.
The inverter’s screen and internal logic run on a small amount of DC power. This power comes from your solar panels or your battery bank.
This is why the unit “looks” alive. The power output side is a separate, high-power AC function. This is the part that is failing.
Your inverter’s brain is on but its muscles are not working. Before you panic, you can investigate.
This guide explores the five most common reasons for this exact problem, starting from the simplest fix.
Why Inverter Powers On But No Power Output
1. A Tripped AC Circuit Breaker or Isolator
This is the single most common reason for an inverter to be on with no output. Every inverter is connected to your home’s electrical system through circuit breakers.
These are safety devices.
Your inverter also likely has a dedicated “AC isolator” switch.
This switch is often located right next to the inverter. If any of these breakers or switches are in the “OFF” position, the inverter’s power has nowhere to go.
The inverter is on. It is ready to send power. The path is simply blocked.
The cause for a tripped breaker can be a random, momentary surge in power from the grid. It could be that another appliance on the same circuit caused a small overload.
Someone may have turned it off manually during maintenance and forgotten to turn it back on. The AC isolator switch is a large rotary switch.
It is easy to knock or may have been turned off for service. The inverter itself is perfectly fine. It is just disconnected from your house or the grid.
Troubleshooting this is straightforward. Go to your main electrical switchboard or breaker panel. Look for the circuit breaker labeled “Inverter” or “Solar System”.
If this breaker is in the “OFF” position, try to flip it back to “ON”. If it stays on, wait a few minutes. Your inverter should detect the connection and begin its startup sequence to produce power.
If the breaker trips again immediately, you have a more serious problem. Do not keep resetting it. You must call an electrician.
You should also check the AC isolator switch. This is usually a red or yellow rotary switch near the inverter. Make sure it is turned to the “ON” position.
2. Grid Power Outage (Anti-Islanding)
This reason applies specifically to grid-tied solar inverters. These are systems designed to work with the utility grid.
They do not provide backup power during an outage unless you have a very special hybrid system with batteries.
When the grid goes down, your inverter’s screen will stay on because the sun is still powering it.
It will show voltage from the panels but it will report zero AC output. This is not a fault. This is a critical and mandatory safety feature called “anti-islanding”.
This feature protects utility workers. Imagine the grid is down and a worker is repairing the power lines.
If your solar inverter kept sending 240 volts of electricity back into those lines, the worker could be severely injured or killed.
To prevent this, all grid-tied inverters constantly monitor the grid’s voltage and frequency. The instant the grid connection is lost, the inverter must shut down its AC output.
It will stay off until it detects a stable grid has returned for several minutes.
The troubleshooting here is simple. Check if the rest of your house or your neighbors have power. You can look at your utility provider’s website or app for outage reports.
If the grid is down, your inverter is working exactly as it is supposed to.
There is nothing to fix. The solution is to wait for the utility company to restore power.
Your inverter will then automatically reconnect and resume output. Do not mistake this safety feature for a broken inverter.
3. Insufficient DC Power Input
This cause is subtle. The inverter’s screen and logic board use very little DC power to run.
The inverter’s power-conversion components, which create the AC output, require a minimum high voltage and current to “start up”.
Your inverter might have just enough power to turn on its display but not enough to engage the main relays and start inverting power. The system is “on” but not “operational”.
The causes for this differ. For a solar inverter, this happens every single day. In the early morning, there is enough light to wake the inverter’s computer but not enough to start power production.
The same happens in the late evening. It can also happen during extremely heavy cloud cover or if the panels are covered in thick snow or dirt.
For a battery-based off-grid inverter, this means your battery bank is critically low. The battery voltage has dropped below the inverter’s “low voltage cutoff” point.
It has just enough power left to run the display but the inverter is refusing to drain the batteries further to prevent damaging them.
To troubleshoot this, look at the inverter’s display. It should show you the “PV Voltage” or “DC Voltage”.
For solar, if this voltage is very low (e.g., under 100V when it’s normally 300V), that is your problem.
The solution is to wait for stronger sunlight. If you have a battery inverter, check the “Battery Voltage”.
Your manual will state the minimum operational voltage. If your voltage is at or below that number, your batteries are dead.
They must be recharged, either from a generator or by a solar charger once the sun returns.
4. Output Overload or Short Circuit
Modern inverters have excellent self-protection features. They are designed to shut down instantly to prevent damage.
If your inverter powers on, tries to send power out, and immediately detects a serious problem on the AC output side, it will stop.
It will cut all power output but the display will remain on. It is protecting itself from a dangerous situation. Two common situations are an overload or a short circuit.
A short circuit means the live and neutral wires are touching somewhere in your home’s wiring or in an appliance.
This is a very dangerous “dead short”. The inverter sees this as an infinite demand for power and shuts down. An overload is less severe but also a problem.
This means you are trying to run appliances that demand more power (Watts) than the inverter is built to supply. For example, trying to run a 3000-Watt inverter with a 1500-Watt heater and a 2000-Watt kettle at the same time.
The inverter will try, detect the overload, and shut down its output.
Troubleshooting this requires a process of elimination. First, turn off or unplug everything connected to the inverter’s circuits.
Reset the inverter. If it starts producing power to the empty circuits, the inverter is fine. The problem is one of your appliances.
Now, plug in or turn on your appliances one by one. Wait a minute between each one. When you plug in the faulty appliance, the inverter will shut down its output again. You have found your culprit.
That appliance is either broken (shorted) or the combined load is simply too much for your inverter.
5. An Internal Inverter Fault
This is the least common but most serious cause. After checking all the external factors like breakers, grid status, DC power and your connected loads, you are left with the inverter itself. The unit has failed internally.
The logic and display are working but the power-switching components are broken. This could be a blown internal fuse, a failed relay, or damaged capacitors or transistors (IGBTs). The inverter knows it is broken.
It will power on its screen but will not engage the output.
The cause is often just component failure due to age. It can also be caused by damage from a lightning strike or a severe power surge.
Overheating is another major killer. If the inverter’s fans have failed or its cooling fins are clogged with dust, the internal components can cook themselves over time.
The inverter’s display will almost always show a specific error code or a red fault light in this situation.
Troubleshooting an internal fault is a process of confirmation. You have already confirmed it is not breakers, the grid, DC power, or the load.
The final step is to look for an error code. Write down the code or message (e.g., “Fault 117” or “Relay Failure”).
Perform one final full system restart. Turn off the AC breakers, turn off the DC isolator (for solar) or battery disconnect. Wait five full minutes. Turn the DC back on first, then the AC.
If the inverter starts up and the fault code returns, the unit is confirmed to be faulty.
Your only options are to check if it is under warranty for a replacement or to call a qualified solar technician to replace the unit. Repairing inverter-level components is rarely done.
Why inverter battery is not outputting even when fully charged